This blog is about my experiences with flying radio controlled model airplanes and the associated trappings. I will be posting about pretty much anything I do related to radio controlled model airplanes. I will most likely post any time I feel that I have something to say, and hope to post at least once a week.
Please feel free to post comments on what you like or don't like or would like to hear more about.
I've got an old plane that is in need of a new life. I received this really cool RC airplane several years ago as a gift. It was cool because it looked like a jet with a motor mounted on the rudder, and it came with a mini digital camera that was activated from the transmitter!
The biggest problem with this plane was that the control system was not proportional. This meant that the elevator and rudder were at neutral or full up or down. No where in between. The motor did have three speeds, but if it's too hard to fly, the throttle speeds do not matter. After many attempts to fly and very little success, I packed it away (I'm way too cheep to through out something like this).
Original plane and transmitter
Now I'm back into RC flying and it's time to see what can be done with this thing. I hauled it out and started to take it apart and see what was worth keeping. I had high hopes for some micro servos, if not a small receiver or speed controller. As it turns out the servos were just a motor with gears so they were out. The receiver was this awkward and large conglomeration that incorporated the speed controller. So, nothing but foam was salvageable.
Receiver
I started by gutting the whole thing to see for sure what I had to work with and where things might go and how I might put it all back together.
Gutted plane showing compartments
All the pieces
Before I had plans for the rest of the plane, I knew that I wanted to put ailerons on it. So that is what I started with. I decided to do this because I will be using the old 3 channel transmitter and receiver from my Wild Hawk. I had great success using just elevator and aileron controls on that plane and thought it would be a good idea for this one as well.
Ailerons installed and servo locations marked out
Servo location cut out
Servo dry fitting
For this build I decided that I could just cut right through the wing and install the servos there. The close tolerance of the cut out will hold the servo from moving and then tape on either side will secure it even more. Taping it like this will allow for easy access when needed.
View from the back side
Servo cable routing
So far so good. Now I need to look at how to control the elevator. The plane is too small and light to mount a servo in or even near the tail. Plus with this plane having the motor mounted so far back, I don't want to add any more tail weight. I decided on a location under the wing and made a cut out for the servo. This time instead of actually cutting the foam out, I melted the foam with a solder iron until I had the shape I wanted. Doing it this way gave me a rigid compartment for the servo.
Original servo in place
New servo. Fits perfect
At this time I also ran two bamboo skewers down the middle of the fuselage to give it more rigidity. I used my solder iron to channel out any places that needed it to make room for the skewers. I used hot glue to hold the skewers in and they made a big difference.
Both aileron servos in place
After getting the servos and re-enforcement in place, I think I'm ready for assembly.
All pieces ready to put together
I think it looks good! You can see that I soldered the speed controller connection along the outside of the fuselage to the motor. I was going to try to route them inside, but that was going to be too much trouble and this will work fine.
All together from the top side
This is the underside where you can see that after I inserted the speed controller and receiver, I just taped over the opening to hold it all in. The battery is installed in the compartment under the front wheel. There is also an on/off switch located there that I re-used. It's really small but works fine.
From the bottom side
Now its time to align the servo arms, control linkage, and control horns. I don't have my servo tester yet and did not use the radio to center the servos. I just assumed that they were centered and installed the servo arms where they needed to be. Then hooked up the push rods and connected to the aileron horns. Once this was done I fired up the radio. Wow! I almost ripped of the left aileron! That will teach me to assume and not check everything before I just put it together.
Miss aligned servo almost rips aileron off
Now everything is together the way I intended and everything has been tested.
Ailerons aligned properly
Everything is ready for a test flight and as usual, I'll have to wait for an the alignment of the stars, well, good weather and free time.
Thanks for stopping by my blog. Please feel free to post comments, good or bad, and be sure to come back and check for future posts.
I finally decided that using my index fingers was not accurate nor useful enough any more and that I needed a better method to find the CG on my planes. I checked out commercial CG finders with lots of cool options, but being the cheep Dutchman I am, I decided I could just make my own. So, the following is the process I went through to make a CG finder.
CG finder pieces
I started by looking for a suitable stand. I had seen others use a 2x4, but I did not want something that size. I looked in my scrap wood bin (what do you mean you don't have a scrap wood bin?) and found a piece of primed trim about 3/4x2x12". This seemed like it would work fine. Then I looked for something for uprights. Again to my scrap wood bin and I found some 1/4" wood doweling. I cut two pieces about 10" long. I then drilled two 1/4" holes in the base about 8" apart. All of these measurements so far were just arbitrary and just guessing how much clearance I might need or want. Enough rod length for fuselage body and landing gear clearance, and separation of rods for a suitable width.
I wasn't to concerned with the size or stability of the base as it would be at, or close to, the CG or balance point and would not need much stability.
Rounded off rod tips
I did round off the ends of the rods a bit to provide for a smaller more accurate tip, but one that would not poke into foam or covered wings.
All setup
Setup it looks pretty good and works well too. I did not glue in the rods so that I could take it apart for easier transport. The pieces fit quite well in the upper tray of the little tool box to the right in the photo.
CG finder being used on my Wild Hawk
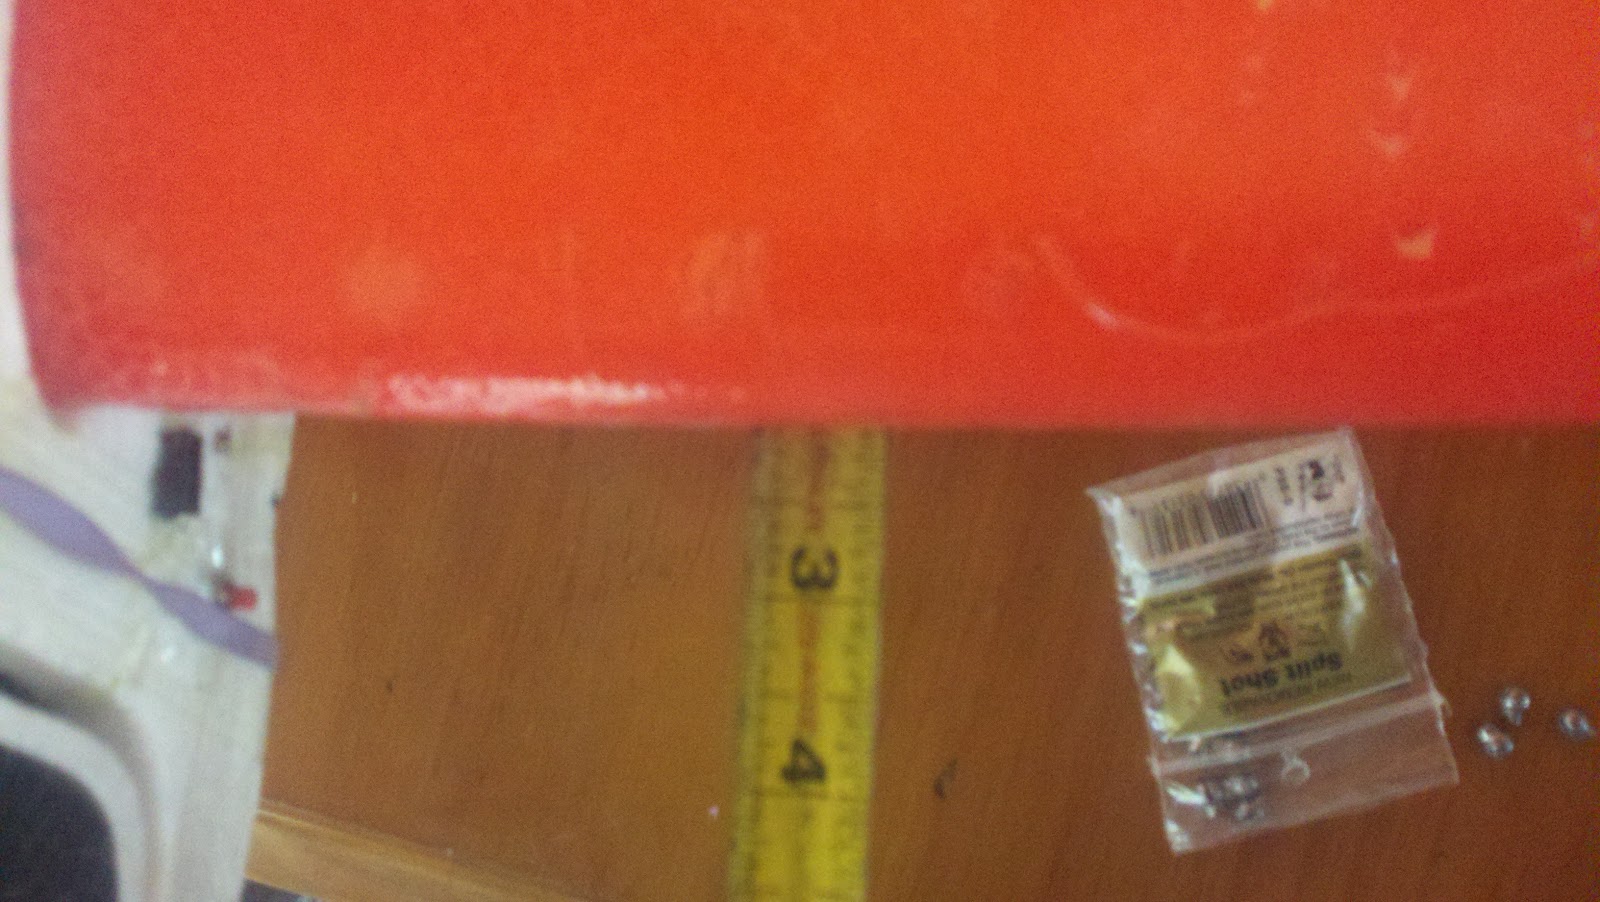
Using tape measure against rods
This little unit has worked quite well and for the money, you can't beat it. Besides, it's really hard to take measurements with a ruler when the plane is balancing on your finger tips.
My conclusion, if you need a CG finder for your plane, just go out and make one! It's real easy.
Thanks for stopping by my blog. Please feel free to post comments, good or bad, and be sure to come back and check for future posts.
Since I now have a programmable transmitter and an airplane with ailerons in need of flaps, I decided to see what it would take to setup flapperons. My initial installation of ailerons consisted of flaps cut into each wing with servo to operate each one and a "Y" cable to connect both servos to channel one on the receiver. One servo was installed apposed to the first one so that they in effect move opposite of each other. This proved to be a perfectly usable way to run ailerons and is easy to trim. As there is no room to add flaps with another set of servos, it seemed reasonable to try setting up mixing to accomplish this.
Cutting out the Y adapter
Both connectors cut out
New aileron extensions installed
The first thing I needed to do was to cut out the "Y" cable that I had glued in. Each of the split connectors were glued, one into a cutout in each side of the fuselage. Once these were removed I replaced them with regular extensions. One of these would go into channel 1 and the other would go into channel 6. Channel 1 would then be mixed with channel 6 and channel 6 set for reverse direction. Then switch B would be mixed with channel 1 and then again with channel 6. Since channel 6 had been reversed for aileron control the mixing of switch B would also need to be reversed.
HK T6A V2 6 channel transmitter
As I have a Hobby King T6A V2 2.4GHz 6 Channel transmitter, this required the use of the T6Config software. Now I have to say that this isn't the greatest software but it is functional. The first time I used it, it worked just fine and I was able to reverse my elevator servo and play with a few other settings. Well, that was some time ago and I have not needed it since. This time when I started up the software I was unable to get the software to work with the programming cable. Each time I selected the com port (4 in this case, oh, and even though this is a USB cable, it appears as a serial connection) the software would freeze up. I suspect this is due to software updates that have broken the old driver. It took a while but I was finally able to find the link to the USB cable site and download the latest driver. With this new driver all was working fine again.
On to the software settings. The following show the actual settings used to accomplish the mixing that I mentioned above.
Mix 1 causing channel 6 to follow channel 1
Mix 2 adding channel 1 to switch B
Mix 3 adding channel 6 to switch B
There are others who have rate settings for mix 2 and 3 set as low as 10 and as high as 75. I thought I would use 50% so as to give more room for experimenting. In this case, 50% gives 50% down when applied and still leaves another 50% of down for ailerons. Note also that mix 3 is -50% as this servo is reversed for aileron control. Also note that with this particular transmitter, as the dials are associated with the switches, VR B will also affect the amount of flaps (adjust how much of the 50% is applied). Just as a side note, my channel 5 is switch A, and I left that setup as a throttle cut off. This is a whole other story as to how well that works with a stick programmable brushless speed controller.
In testing, all of this worked as planned! Unbelievable that it worked on the first try. This seems to never happen for me. I am a happy camper.
Flapperon testing
So, now it's off to see how it flies!
Thanks for stopping by my blog. Please feel free to post comments, good or bad, and be sure to come back and check for future posts.
So this morning I'm laying in bed thinking about modding my transmitter battery when I realized that I had left my brand new Turnigy 2200 Lipid battery on my Tenergy charger all night! I had flown the previous day and wanted to make sure it was charged up if I had an opportunity to fly the next day. Well I had put it on the charger later that evening and forgot about it! Since none of our smoke alarms were going off I knew it had not overheated and burst into flames. Even so, I was glad that I had placed the charger and battery in a metal pan on the tile counter top in our kitchen so that if it had "burst into flames", the damage would be minimal. Now that I was pretty sure there was no fire (no alarm, remember), I was wondering what would be the state of the battery. I had visions of a puffed up, bloated, and worthless battery pack.
Team Tenergy charger and wall adapter
I rushed down stairs and into the kitchen. No scorched pan. No burnt smell. And, best of all, no puffed or bloated battery pack, and the charger light was still green! I quickly unplugged everything and checked it all out. The battery was not puffed at all or even warm. The charger was not warm and neither was the power adapter.
A closer look at the Team Tenergy charger
Wow, was I happy. This inexpensive Team Tenergy charger did exactly what I would want a charger to do, charge the battery appropriately and then turn off the charging. This has been a great little charger. I know it only charges at one amp (which means long charge times for large packs) and can only charge up to 4 cells, but right now that's all I need and it can charge from a wall power adapter or car battery. This little charger is easy to use as well as it has a red light to show that it is charging and a green light to show when it's done, and it does balancing too. Needles to say, I am very happy with this charger.
Thanks for stopping by my blog. Please feel free to post comments, good or bad, and be sure to come back and check for future posts.
I don’t know how many of you know this, but I’m a cheap penny pinching Dutchman. I’m always looking for the cheapest way to do something. I’ll spend $25 dollars in gas driving around to find something $20 cheaper! This doesn't exactly fit with my passion for technology or invention as both usually mean spending money. Why am I letting you know this? Well I’m back into this whole radio control flying thing and I got really excited about the prospect of taking video from the plane. I’ve done the video thing of the plane in flight (I even took some video of my plane while I was flying when I couldn’t get someone to come along) and that’s good and all and I won’t stop doing this, but I would really like to add video from the plane.
I started looking into the options available. I could go with a standard video camera but they are way too big for the size of planes I am currently flying. Also most of these still use some sort of media to deal with (disk or tape). Digital cameras can be used and most are very small now, but they are still to big and or to block shaped. The next option I looked into were specialty DVR systems. While very cool and packing a lot of features, these are way too expensive and some still require the addition of a camera. The last option I found out about was the use of a cell phone that has a camera with a video option. As I am cheap and because I have a few old cell phones laying around, this is the option that I am starting with.
Camera side of LG phone
Of all of the phones that I have available, the only one that is going to work for my needs is an LG Vu960. This is a relatively flat card deck size touch screen phone. This should allow for a fairly aerodynamic option if I can keep it flat to a surface on the plane.
Screen cover removed and connections exposed
Well of course things are not going to go well. The reasons I selected this phone is because it was the only one that I had that has all of its parts and was still working. Almost working. Turns out the touch screen was having issues and touching some parts of the screen produced no results and were dead spots. And as expected, these dead spots were over the selections for starting video recording and settings. After some searching with Google, I found out that this is not an uncommon issue with this phone and can sometimes be resolved with pealing off the glued on screen cover. This exposed the touch screen sensor connections and made the phone functional. Now if I come across an area that does not respond I just hold down on the connectors and it responds again.
Cell phone taped into position
Well I figured I was all set and I could just tape the phone to the plane. The location I selected was the bottom side of the left wing (port or starboard, I don't know). This should work well while testing and if I like this set up I can look at changing over to Velcro.
This all looked like it was going to work just fine and so it was just a matter of finding time to try everything out.
The day came when my schedule allowed some time to fly and the weather complied. I was excited to get into the air as the day was calm with some low overcast. I was hoping to get some video from the clouds! I got out to the field and hurriedly put everything together, turned on my radio and receiver, tested the controls, and tossed the plane into the air (I did not have any landing gear on this plane at this time). I had a wonderful flight and, and, got up into the clouds! I was so excited to get the plane back and look at what i had videoed!
I hurriedly got the plane down and ripped of the tape to get to the phone. I was very disappointed to find out the the video had stopped! Not only had it stopped, but only recorded 43 seconds! What's up with that. I set the phone to record to test it out. It only recorded 43 seconds again. What? Oh man, back to Google.
So what did I find out? Something simple of course! As with all phones that can record video and send them attached to text messages, they limit the video size. All I had to do was to reset this option and now I can record for as long as I have memory. While I was at this, I also made sure that the phone was set to record video directly to the SD card. This makes transferring video much easier as I don't have a USB cable for this phone and don't want to deal with Bluetooth. Oh, while I'm relating the cell phone settings, I also put the phone into, appropriately enough "airplane mode". This turns off the cell phone connection.
OK, I waited for another opportunity to fly. I got that opportunity and made a few good videos that covered the entire flight! These were fine, but the camera is facing directly down and so while most of it has interesting views of the surroundings, these videos can be quite nauseating. I need to find some way of getting a view that looks forward.
Mirror and foam pieces
So how am I going to change the view? My daughter suggested just taping it on somewhere (the cockpit) facing up but that just makes it this big flat surface pushing through the air. I figured there must be a better way of doing this. I decided to try using a mirror to get a view forward. I checkout out my local Micheal's store and found some small mirrors. Then I cut out some foam pieces that will help me to mount the mirror at an angle to the camera lens. After some testing I realized that the phone would have to sit sideways to get the wide angle view the camera was intended to have. This presented another issue in that the way I was going to set it up, would give me a video that scrolled from bottom up instead of top down. This meant resetting the mirror again.
Mirror attached
Back side of mirror and foam bracket
You can see from the included pictures that I just hot glued everything together. This works very well and make it easy to change things if needed without damaging the phone. Now all is setup and ready for testing again.
I finally had a chance to fly again and took some really fun videos of flying my plane for the first time with the landing gear installed (see my other blog My Wild Hawk Experience for more on this). Well, one final issue with this. I noticed that there was something wrong with these latest videos. The right and left are swapped such that if the plane goes left, the video shows it going right! Oh well, what can I expect for my free kludged solution.
The latest update on this story is that I gave in and ordered a video recorder from my favorite hobby site Hobby King. They have a video recorder, that looks like a car remote key fob, for less that $10! Even as cheap as I am, I can't pass this up. As usual something always goes wrong for me and this is no on back order! Oh well, Ill post again when it comes in and I get a chance to test it out.
As usual, join my site, make a comment, and don't forget to come back for more.
VNHDTVDCK6NV
Monday, December 5, 2011
Well hello everyone.
This is the start of my new blog chronicling my long overdue renewed enthusiasm into radio controlled model airplane fun. Many, many years ago when I was a teenager (my kids will say "in cave man time", but they're wrong that was my parents time!), I was intrigued by model airplane building and radio or remote controls. I built several planes. The early ones from balsa wood, glue, and paper. Then came mono coat (wow, what a difference from paper and dope... no not that dope!). My last two planes made use of a new building material called Styrofoam. One plane only used it for the wing while the entire other plane was made from it. Styrofoam still had some drawbacks as you could not use most of the normal glues on it and you could not paint it without special and expensive paints. To paint the wing on the one plane, I had to first apply several liberal coats of a mixture of white glue and talcum powder. And sand between each coat. Then I could paint it. Well, it doesn't make much difference now as both planes died horrible deaths at the hands of an unskilled pilot. I do still have the engine from the all foam plane somewhere, but that's all I have left over from the "early years".
So now, I'm back into things and really loving it. I am back into this activity surprisingly enough because of my Dad (yeah, the one from the "cave man time"). He has some friends who are into the sport and they hooked him up with a Wild Hawk from, of all sources, Harbor Freight! Well, he really liked it and since my birthday (yes the most recent of a lot of them) was coming up, he bought me one two (thanks Dad, one of the best birthday gifts of all time, a chance to be young again. My kids sure don't help with that!). My experiences with this plane prompted me to start a blog dedicated to that plane. That blog can be seen at this link: My Wild Hawk Experience. While I like this blog, and expect to keep it up, it is dedicated to my experiences with just that plane. This blog will be about my experiences with all things radio controlled. I currently have the wild Hawk and a foam plane that I got as a gift a years ago (crappy plane that barely flew. I will be doing extensive modifications to the un-named plane and hopefully turning it into a real fun flyer (see below).
Soon I hope to be purchasing one of the available versions of a Trojan T-28.
As I am new to this, I will also be reviewing my journey into AMA membership and joining a local flying club. So, join this site and come back for more!