Pages

Showing posts with label tips. Show all posts

Sunday, October 15, 2017

SD Card Extension Mod, Turnigy 9X

I love the new sound mod that I did for my TG9X transmitter!  One big problem that I have with it is that it's such a pain to update the sounds!  Because of how I opted to do this mod (the way almost everyone has done it) I have to open my transmitter every time I want to update any files.  What a pain.  Then I noticed one day that it's possible to get SD card extensions.  This is a cable where one end plugs into the existing SD card slot and the other end has another card slot for you to locate somewhere.  So I hunted down the best deal (because, you know, I'm cheep) and ordered one.  So now the rest of this is a review of what and how I did my mod.

This is just the back view of my transmitter getting ready to take the screws out and crack it open.


Here is the view of the micro SD card extender that I bought.  I wanted the flat ribbon cable but should have paid closer attention to the length.  You'll see later how the length affected the install.

 Here is a closer image of the insertion end.  Looks good.  You can also see from this view how wide the flat ribbon cable is.  I might have also paid closer attention to this and found a narrower one.  What was not obvious from this view is that the circuit board material that it is made from is thicker than the micro SD cards.  While it still fit in, it was very snug and did not "click" in.  It just stays in by friction.


Here is the socket end that will have to be mounted somewhere.  It too was larger and thicker than anticipated.  I tested inserting a micro SD card and it works just fine.


Here is my radio open with the first look at where everything is and what I have to deal with.  Lots of wires from the programming cable to the jumble of wires for the MegaSound board.


This is another closer look.


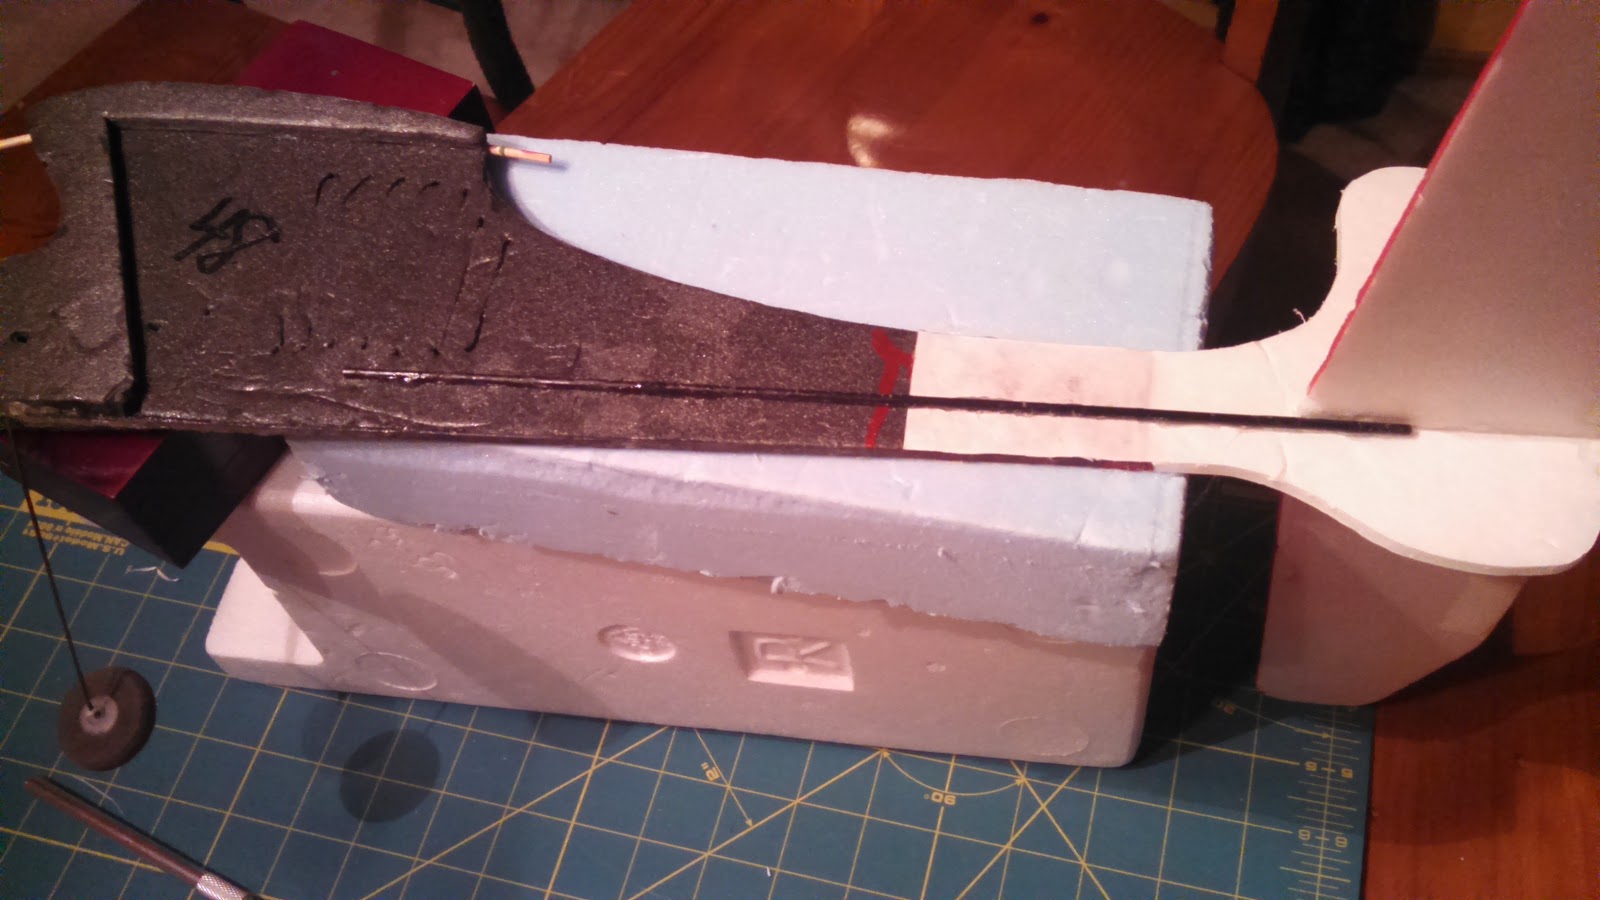
And yet another closer look.  We can easily see now the micro SD slot that we will be working with.  It sure has been a pain to open my radio every time I wanted to update a sound for a new plane or option.


This view is just holding the radio programming cable out of the way to see what kind of space I have to work with.  After looking things over, I decided this would be the best location for the SD slot end to mount.  I really wanted to mount it on the side, but with all of the socket connectors (all the white ones) and the MegaSound board on the other side, it would be too confining.  So, I reluctantly went with a bottom mount.


This view is of the mating side showing how the battery box from the other half might interfere with mounting in this location.  Since it is just under flush with the rim, it should not be an issue if I stay below the rim of the mating side.


Here I have outlined the area that I need to cut out to accommodate the socket end.  I made sure that it would be clear of the stand and above the curvature and still well below the rim.


I started by drilling small holes inside the lines.  I just used whatever suitable small drill bit that I had.  I could have just as well used a larger size and just drilled them down the middle.


Here is the end result ready for cutting in-between the holes.


I just used my utility knife and worked at cutting the ribs.  It took some time but finally the center was cut free.


Fortunatly this plastic, while tough, carves nicely.  It took some effort, but was nice to work with.  As soon as I could, I broke out the files and cleaned it up and to the lines.


Here is the final test fit of the socket end.  Nice and snug without pushing in on the sides of the socket end.


Here is how it looks from the other side.  You can already see that I will have to do some folding and manipulating of the ribbon cable to get it to the SD socket on the MegaSound card.


here you can see how I started to layout the ribbon cable.  It was so long that it had to make a few runs back and forth across the radio.  I also put a ruler along the bottom stands to make sure the socket end would not extend below and interfere with sitting level.


Here it is hot glued from the back side.  You can also see how I folded the ribbon cable.  I creased it to help fit better as well.


Here I started to add some hot glue from the outside to ensure as secure mount.


Here it is all done and put back together.  I didn't think that I would be happy with the bottom mount but I have changed my mind.  I realized that if it were on the sides, my hands might inadvertently cause problem, but on the bottom, it is out of the way but easily accessible when needed.

I have already used this about twenty times as it is so easy to add and mod sound files now.  I am really happy that I did this upgrade.

Thanks for stopping by my blog.  Please feel free to post comments, good or bad, and be sure to come back and check for future posts.

Sunday, October 1, 2017

Adding Voice to my TG9X

I finally decided to install the MegaSound mod board that I purchased over 2 years ago.  I'm really happy that I completed this mod as it makes a bigger difference than you think to have your transmitter tell you something without having to look down.

Unfortunately I do not have good photos of this mod, so I will do my best with words and what pictures are available.

From the instructions on Open RC forums and the instructions that came with it, I came up with my plan.  I decided to place the board in the lower right of the inside as you see in the pictures.  This placement helped with wiring but was not optimal for the SD card.  It took a while to solder up, but was not to bad.  I decided to use wires from some ribbon cable that I had available and it worked just fine.  I did use some heavier wire for the power connections that you can see in red and black in the picture below.


When it came time to mount the board, I needed something to keep it from shorting with the main board.  I use a lot of Dollar Tree foam board and decided that would make for a good space.  I cut a piece just smaller that the board and hot glued it to the backside. Then test fit it and used some more  hot glue to secure it to the main board.  Worked well and I'm happy with it.

It was also necessary to install a new speaker (supplied with the kit).  There was a perfect place to install it behind the grill,  A little hot glue and it was in just fine.  The instructions required the removal of the mini speaker and drive transistor.  I have the needed solder iron and solder sucker so this was easy to accomplish.  The picture below shows the installed speaker and the board with the mini speaker and drive transistor removed.  There is a wire connected to the signal to the drive transistor so that the MegaSound board knows when the main board is sending tones to the speaker.


These photos show everything completed and ready to go back together.


I followed instructions that I found on Open RC forums to record computer generated voice sayings.  I saved these to the micro SD card with the appropriate files names.

I never realized how nice it would be to have audio and now I love it.

Thanks for stopping by my blog.  Please feel free to post comments, good or bad, and be sure to come back and check for future posts.

Cleaning a Dirty Brushless Motor

Some times you biff a plane into the dirt.  Some people tend to do this a lot more than others.  I think I tend to land (pun intended) into that group.  This can really mess up an electric motor, especially if you keep trying to spin the propeller (if one still exists), or the shaft.  This can cause all kinds of damage to the magnets and stater coils.  So don't do it!  If you get dirt into your motor, just leave it until you get home and can clean it.  Brushless out runner electric motors are actually quite easy to clean out.

I recently had this issue with my Hobby King Club Trainer.  I came in over a freshly plowed field and didn't make the runway.  Of course it nosed over and the cowling scooped a large amount of dirt all around the motor.

Below is how I went about cleaning it up and getting it back into shape.

The first thing that I did was to take the nose cone and prop off.  All the while being careful not to spin the motor shaft (or at least as little as possible).  Then I removed the motor from it's mount and disconnected the power connectors.

Now you need to take the motor apart and separate the out runner and magnets from the stater coils.  A lot of times this is done by removing some Allen set screws.  In my case, this was held together with an "E" clip in a slot on the end of the shaft.  There are special tools for removing these, but I usually just use a small screw driver or pick.  Just be careful not to bend or gouge up this little item or you will need to find another.


Now separate the two parts.  This is not always easy to do as the strong magnets used will try to keep the iron stater where it is.  Just be careful and don't pull on the wires!  For mine, I was able to pull on the prop shaft and the bearing tube.  After some effort, it popped right apart.  Depending on how much dirt is in your motor it may cause it to bind up.  If this happens, first try tapping the motor with the bell facing down to see if anything will come out.  Then try to gently turn the motor just enough to free it up.  Repeat this process as needed until it can be taken apart without damage to the magnets or iron stater.


Now take the bell out runner side and tap it down on a suitable surface.  By a suitable surface, I mean something relatively soft.  Don't do this on a hard surface like tile or metal as you risk damaging your tile and the shaft.  This will dislodge most, if not all, of the non magnetic dirt.


Now take a stiff epoxy brush and start bushing out the rest of the bits that remain.  I thought I would have a tough time with the magnetic bits and iron dust with such strong magnets, but they came out quite easily.


As you can see, it's nice and clean once again with no remaining bits.


Now just reverse the process to put things back together.  Be careful putting the stater back into the out runner bell as it can come together quite violently and pinch fingers!  Once it's back together make sure that it spins freely again.  Of course you will still get the "coging" of the magnets and stater, but there should not be any grinding or gritty feel.  If you do encounter this, start over and clean it out again.

Argh!!! It happened again!


You can see that the mud actually mushed all the way through the motor.  I pulled everything apart and used some water to rinse most of the mud off.  Then I made sure that it was dried out to make sure it did not rust and then used these techniques to clean it out the rest of the way.  And yes, it did fly again.

Thanks for stopping by my blog.  Please feel free to post comments, good or bad, and be sure to come back and check for future posts.

Wednesday, November 2, 2016

Wing One Rebuild (Say that fast 5 times)

This beauty was my next project!

This wing came to me from the second owner who had not actually done anything with it.  He reported that the original owner had flown it with some sort of pod on top that housed the battery, electronics, and motor.  The pod and what was contained were no longer with this wing.  It did show signs of having been flown but was still in really good shape.

Here I started to take the covering film off of the trailing edge of the section between the elevons.  I started to do this because I knew I would need to take this section out to be able to move the motor forward.  I wanted to move the motor forward because I also knew it was going to be hard enough to get the CG right without the motor being so far back.


Here is a closer look after I had cut the trailing edge balsa lose.  I also have the motor/prop combination that I intend to use and the start of a motor mount/firewall.


Here I'm getting an idea of how things will line up.


Here is how I originally thought everything might lay out.


To provide for some flexibility in the power system (in anticipation of crashing), I decided to use a block of stiff foam to mount the firewall.  I cut out the covering film where this foam block will be glued down.


I decided to use Gorilla glue to secure this block as it would expand into the foam as well as adhere to the wood and foam of the wing.  Also, Gorilla glue is more flexible than epoxy (remember the anticipated crashing?).  I used the popsicle stick to help spread out the glue.  I did not show these steps, but I also spritzed it with water to help activate the glue and then held everything in place with masking tape.
(Our cat Dewy is trying to get in on the action)


Here is all of the pieces glued in place.  I made sure to have the motor wires run over the top just because I though it would make it easier to connect up.  Also, you can see the slight up tilt in the motor.  This was done to keep the thrust line pointing to the center of mass.  If you do not do this with a pusher, you will get pitching up or down when applying power.


After doing some CG work (I used an online CG calculator for flying wings to come up where the CG should be for this wing.  I think I used one of these: wingcgcalc and fwcg), I realized that the battery would need to mount like this to get the CG right.  I centered the battery and then traced around it and dug out the foam about half an inch down.  I did not want to go too far into the foam so as to maintain as much strength as possible while still providing a good battery mount.  You can see that I glued some bamboo skewers into the long corners of this cutout.  I also wrapped a strip of velcro around each of these.  I thought that these would help reinforce the foam and help to secure the battery.  This actually worked very well.


Here is a closer look.


 Here the battery is strapped in.


Here I am out for the maiden flight.  A friend who is a really good wing pilot got it up in the air for me and then handed the controls over after he trimmed it out.  Thanks Richie!
If flew great and he was easily able to launch it and trim it out.  I came down a bit hard on a landing and loosened the glue on the firewall.  I just used a couple of rubber band from front to back to secure it and that is what you can see here.  I did this because I was not ready to go home and really wanted to continue flying!
(Editorial Note: I am not condoning the flying of damaged airplanes in any way!)


  It flew great just like this for two flights.  Then I came in rough again and encountered the damaged prop and completely broken loose firewall that you can see here.


Here it is again all rebuilt and ready for another day of flying.

I have been really impressed with how durable wings can be.  I have continued to fly this wing just as it is for many flights including some nasty crashes.  My worst crash was at a pretty good speed into a street curb.  The crash destroyed the battery and broke the hinges on one elevon and the related clevis.  I have since replaced the battery repaired these and flown it again.

Thanks for stopping by my blog.  Please feel free to post comments, good or bad, and be sure to come back and check for future posts.

Foamy Rehab 2

Part II

At this point, the carbon rod spar was glued back in place on the opposite side of where it was originally as this surface was clean and flat.  Instead of the brittle epoxy, I opted for Foam Tac which will be more flexible on top of being easier to use.

With the adding back of the carbon fiber spar, the frame reconstruction of this little plane is complete.

Now on to the control surfaces and electronics.

On the left in the photo below are the old servos that came with it.  They were a weird mix and I did not want to rely on them.  I happen to have two new 4g servos on hand and decided to swap them out.


Here is a photo showing the ESC and old servos again.  Note the micro connectors.


This photo shows the size difference in the connectors.  They are much smaller but I was not going to be able to use the 72MHz mircro receiver that came with it (I sold this receiver along with another on Ebay for about $20!).


Here is the new 4 channel receiver that I will be using with the two new micro servos installed.  The old ESC still has the micro connector.  I'll have to replace this connector as I don't want to replace this ESC as it already has all of the other connectors soldered on and I would have to get these as well.

OK, on to the tail surface repairs that I decided to make as well as changes to the control horn installs.

There were some dings in the leading edge of the stabilizer that I fixed by applying Gorilla glue and then covering with masking tape.  I let the glue foam up and then trimmed and sanded to shape.


I removed the elevator so that I could redo the hinge tape (pretty much rotted apart) and install a new control horn.  You can see here that the rudder just uses the paper on one side of the foam board for the hinge.

Here I'm cutting pieces from a plastic card to make the parts I need.  I kind of played with the shapes until I was satisfied.

I used this method (Ed from Experimental Airlines, thanks) where it glues on one side and penetrates to the other.  This makes for a light but solid horn.  I cant remember if I used hot glue or Foam Tac for this, but either should work well.  For the hinge on this piece I just use Scotch tape!  Works just fine for this little guy.


Here I did the same for the rudder making sure that at least one of the holes lined up with the hinge point.  You can see that it had to sweep forward to achieve this while not interfering with the cut out on the other side.


I did not want to just glue the servos to the side like had previously been done so I cut some strip of the plastic card and slid them through some slots in the fuse.  These were glued in with hot glue and provided perches for the servo tabs.  The servo tabs were then hot glued to these.  The photos below show both sides.


The push rods extend a long way and the old ones flexed a lot so I attached wires to the ends of some bamboo skewers to make fairly rigid replacements.


Here they are attached to both servos and control surfaces.  I used "Z" bends and mini "E/Z" connectors.  This made it much easier to make adjustments.


Here is a photo with all of the other electronics stuck on.  I used velcro for the receiver, ESC, and battery.  The battery is way forward so as to get the CG close.  It's still a little tail heavy.  As for the CG, I just kind of guessed assuming that it should be between 25 and 30% back from the leading edge.


This is what it look like with the wing balanced on.  I did not have a rubber band available, but this is what it looks like.


It's all ready to go now.  Just need a nice day and the battery charged.

I have since flown this little thing and I have to say that it is a real kick in the pants to fly.  Looks like it would be too light for any wind but surprisingly enough it handles the wind quite well.  I actually love taking this thing out and flying it when others won't because it's too windy.  One caveat is that it flies well once you get it nosed into the wind!  Otherwise your fighting to keep it from tumbling.  But hey, isn't that part of the fun!

Anyway, I hope this has inspired you to have fun with this hobby and to not be afraid of taking on what may seem like a piece of junk!

Thanks for stopping by my blog.  Please feel free to post comments, good or bad, and be sure to come back and check for future posts.