At this point, the carbon rod spar was glued back in place on the opposite side of where it was originally as this surface was clean and flat. Instead of the brittle epoxy, I opted for Foam Tac which will be more flexible on top of being easier to use.
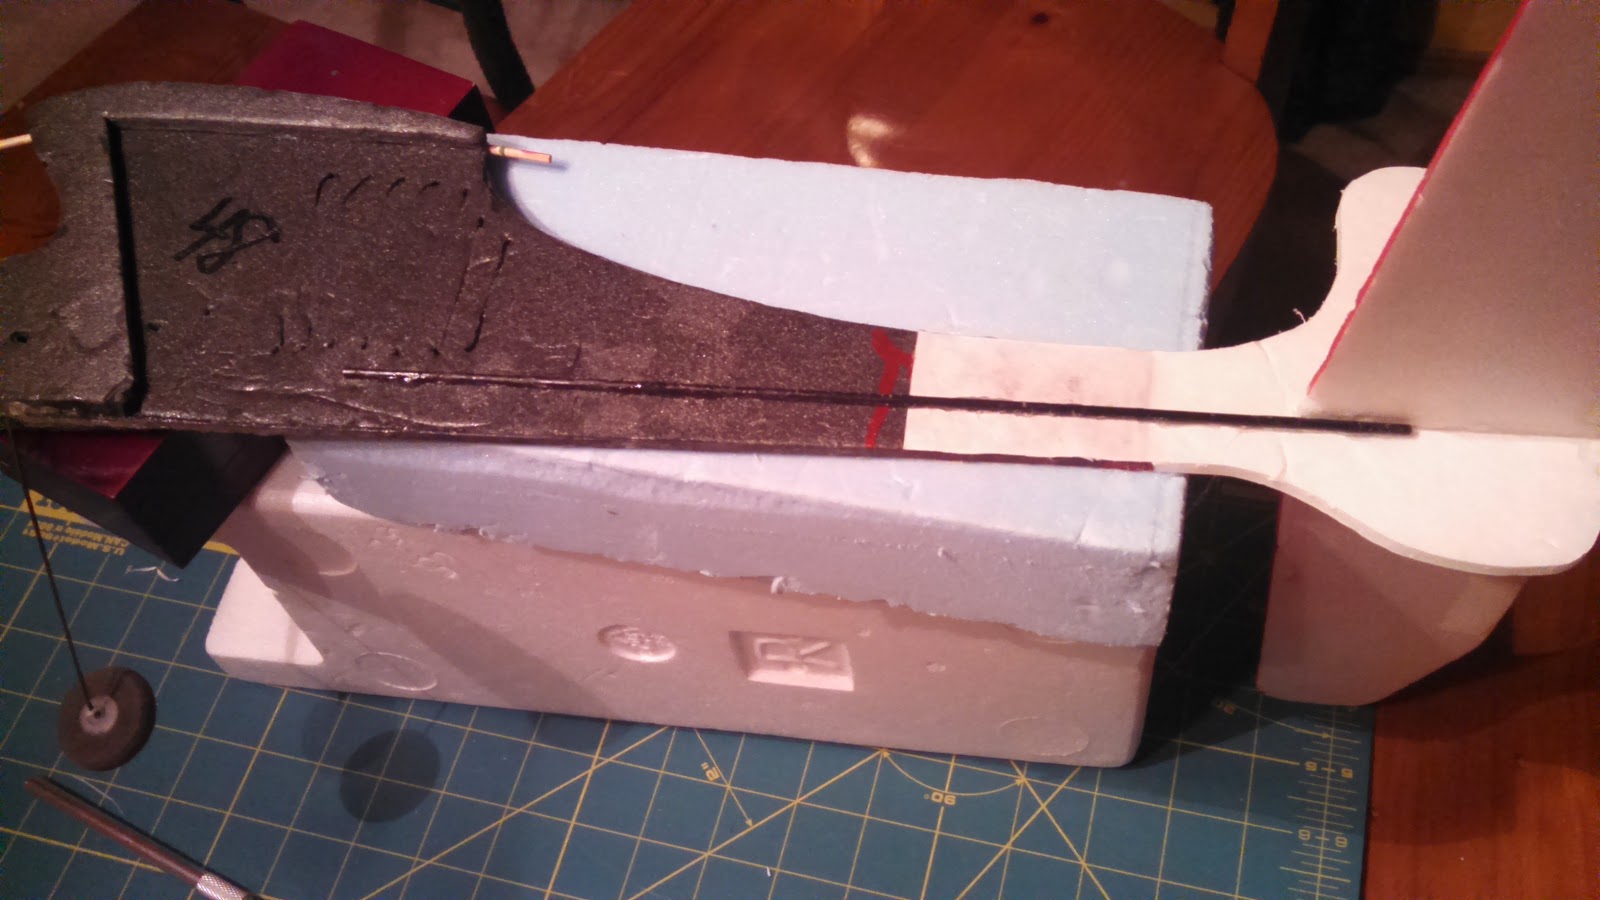
With the adding back of the carbon fiber spar, the frame reconstruction of this little plane is complete.
Now on to the control surfaces and electronics.
On the left in the photo below are the old servos that came with it. They were a weird mix and I did not want to rely on them. I happen to have two new 4g servos on hand and decided to swap them out.

Here is a photo showing the ESC and old servos again. Note the micro connectors.

This photo shows the size difference in the connectors. They are much smaller but I was not going to be able to use the 72MHz mircro receiver that came with it (I sold this receiver along with another on Ebay for about $20!).

Here is the new 4 channel receiver that I will be using with the two new micro servos installed. The old ESC still has the micro connector. I'll have to replace this connector as I don't want to replace this ESC as it already has all of the other connectors soldered on and I would have to get these as well.

OK, on to the tail surface repairs that I decided to make as well as changes to the control horn installs.
There were some dings in the leading edge of the stabilizer that I fixed by applying Gorilla glue and then covering with masking tape. I let the glue foam up and then trimmed and sanded to shape.

I removed the elevator so that I could redo the hinge tape (pretty much rotted apart) and install a new control horn. You can see here that the rudder just uses the paper on one side of the foam board for the hinge.

Here I'm cutting pieces from a plastic card to make the parts I need. I kind of played with the shapes until I was satisfied.

I used this method (Ed from Experimental Airlines, thanks) where it glues on one side and penetrates to the other. This makes for a light but solid horn. I cant remember if I used hot glue or Foam Tac for this, but either should work well. For the hinge on this piece I just use Scotch tape! Works just fine for this little guy.

Here I did the same for the rudder making sure that at least one of the holes lined up with the hinge point. You can see that it had to sweep forward to achieve this while not interfering with the cut out on the other side.

I did not want to just glue the servos to the side like had previously been done so I cut some strip of the plastic card and slid them through some slots in the fuse. These were glued in with hot glue and provided perches for the servo tabs. The servo tabs were then hot glued to these. The photos below show both sides.


The push rods extend a long way and the old ones flexed a lot so I attached wires to the ends of some bamboo skewers to make fairly rigid replacements.

Here they are attached to both servos and control surfaces. I used "Z" bends and mini "E/Z" connectors. This made it much easier to make adjustments.


Here is a photo with all of the other electronics stuck on. I used velcro for the receiver, ESC, and battery. The battery is way forward so as to get the CG close. It's still a little tail heavy. As for the CG, I just kind of guessed assuming that it should be between 25 and 30% back from the leading edge.


This is what it look like with the wing balanced on. I did not have a rubber band available, but this is what it looks like.


It's all ready to go now. Just need a nice day and the battery charged.
I have since flown this little thing and I have to say that it is a real kick in the pants to fly. Looks like it would be too light for any wind but surprisingly enough it handles the wind quite well. I actually love taking this thing out and flying it when others won't because it's too windy. One caveat is that it flies well once you get it nosed into the wind! Otherwise your fighting to keep it from tumbling. But hey, isn't that part of the fun!
Anyway, I hope this has inspired you to have fun with this hobby and to not be afraid of taking on what may seem like a piece of junk!
Thanks for stopping by my blog. Please feel free to post comments, good or bad, and be sure to come back and check for future posts.
No comments:
Post a Comment
Thank you for your comment. It will be posted as soon as I have a chance to approve it.
Mr. Clean